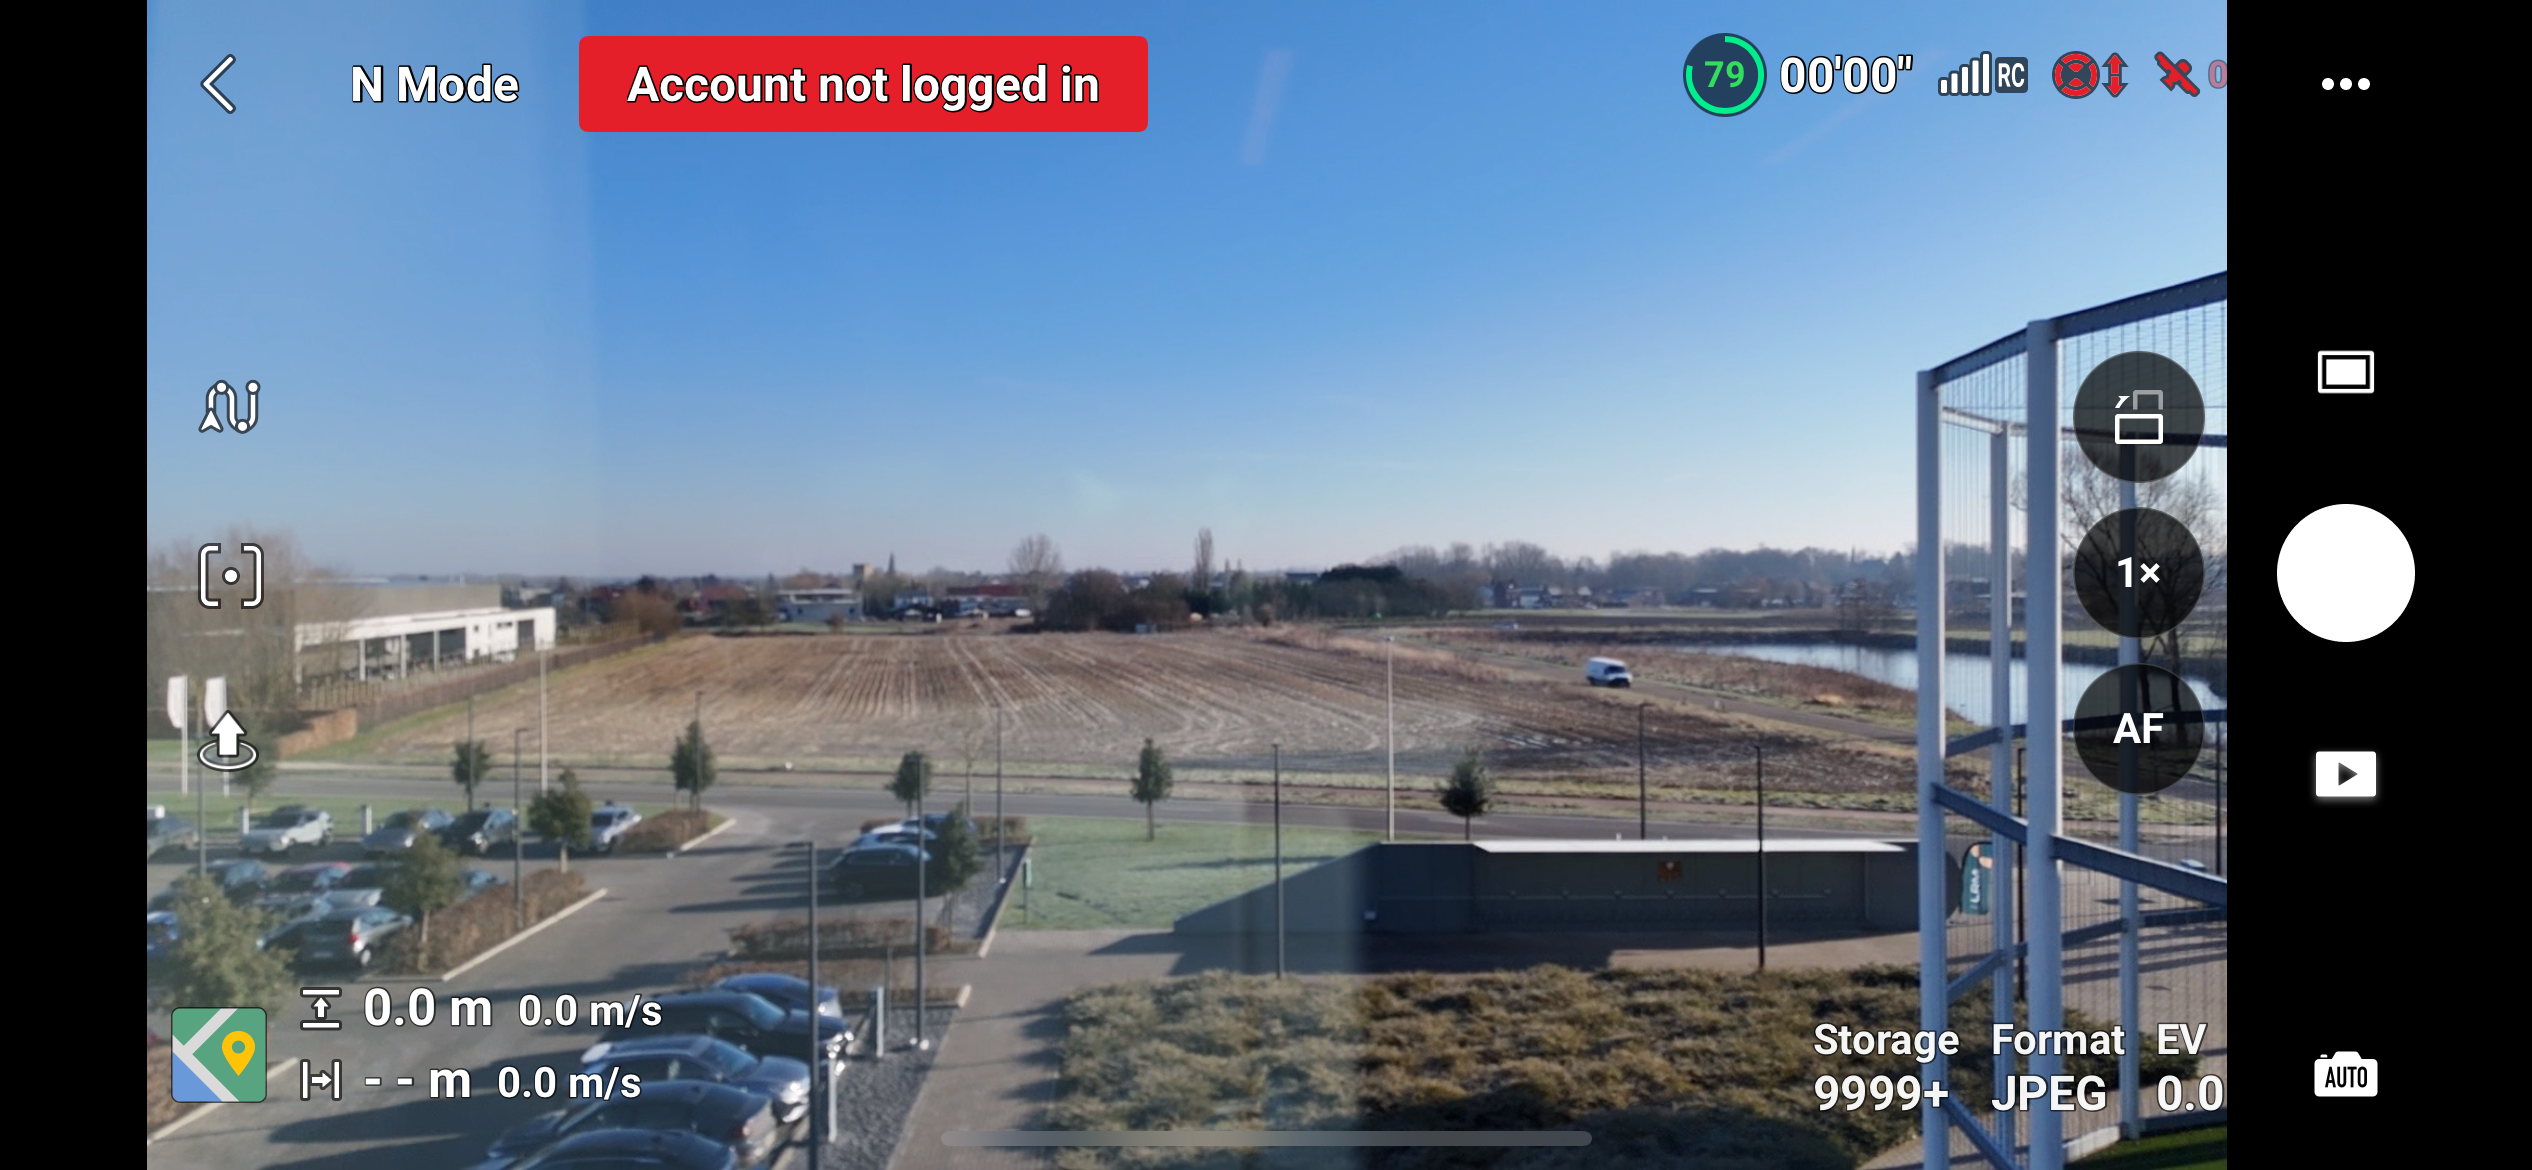
Accesso DJI
Assicurati di aver effettuato l'accesso con un account dji. L'app Dji Fly non consente di volare con la missione automatica a meno che non si sia effettuato l'accesso.
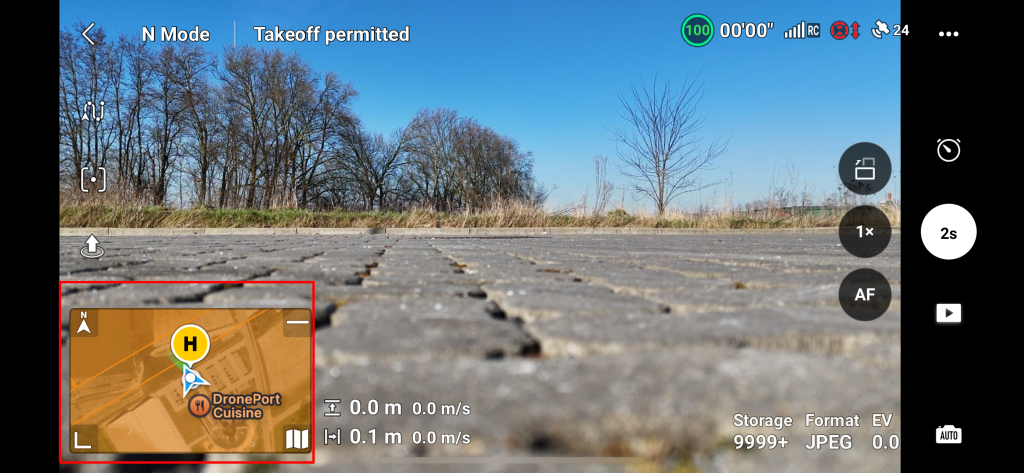
GPS
Prima di pianificare una missione, accertatevi di avere un segnale GPS sufficiente.
Controlla l'icona del GPS in alto a destra dello schermo. Deve essere di colore bianco e non rosso. ![]()
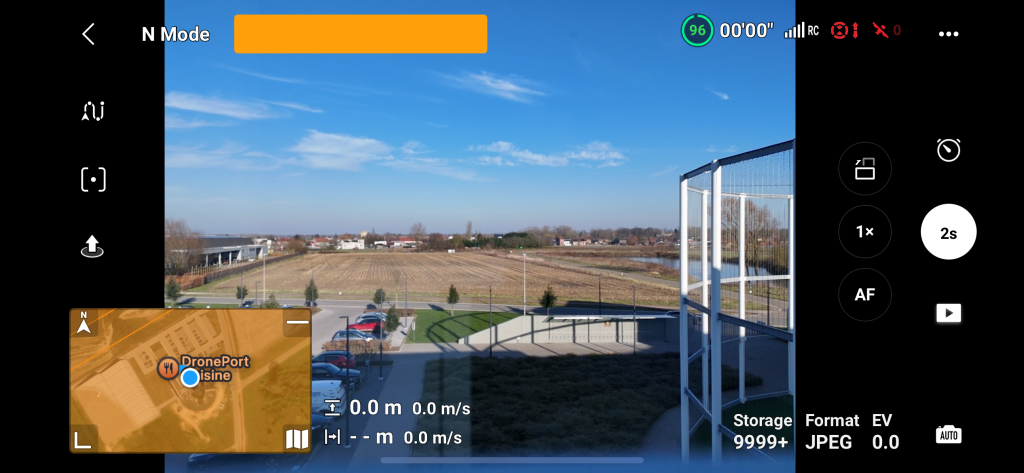
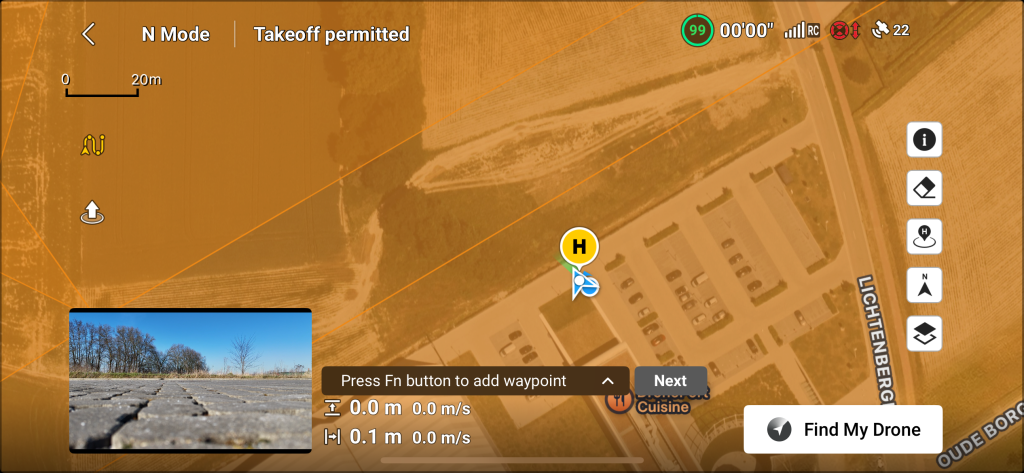
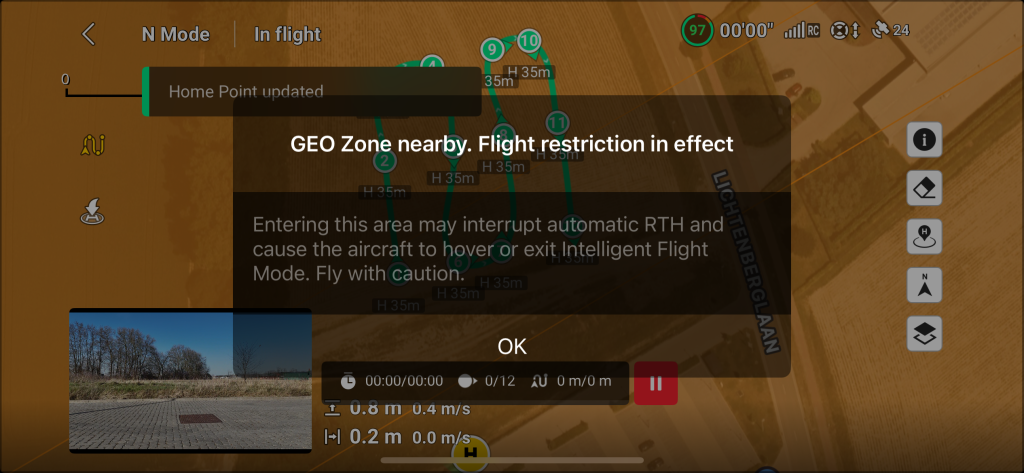
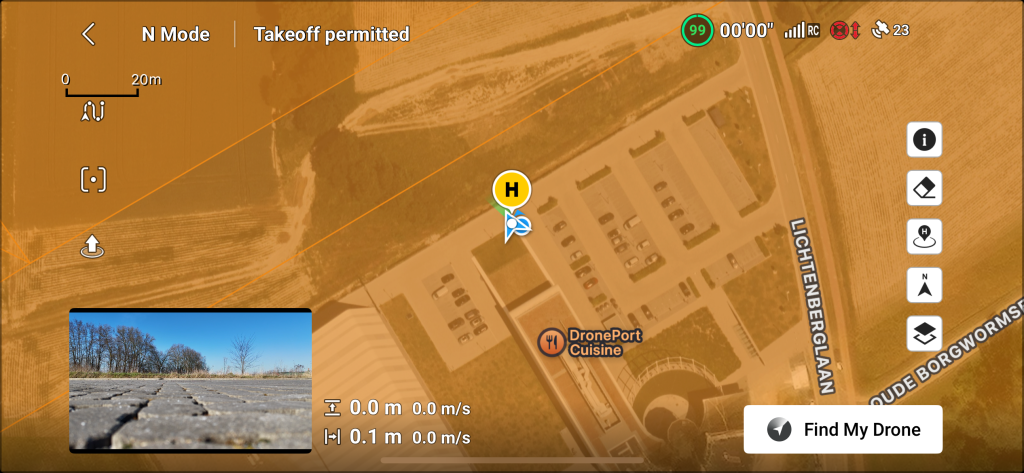
Posizione iniziale
Prima di pianificare assicurati che il drone abbia registrato una posizione Home. Il drone ha registrato la sua posizione Home se l'icona nell'immagine sottostante è visibile sulla mappa 
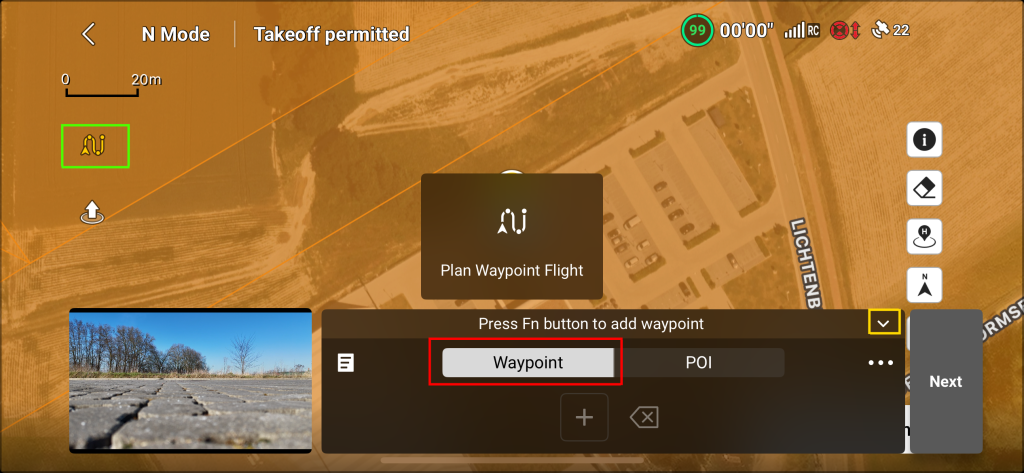
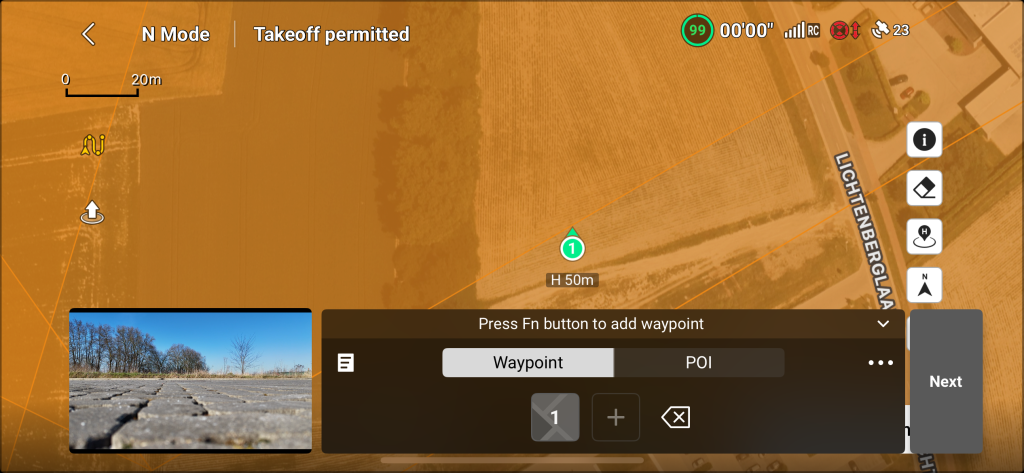
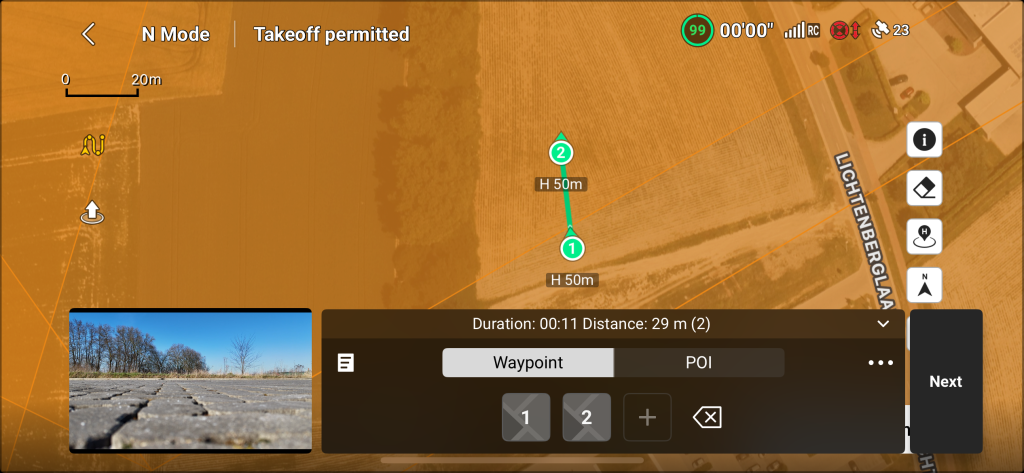
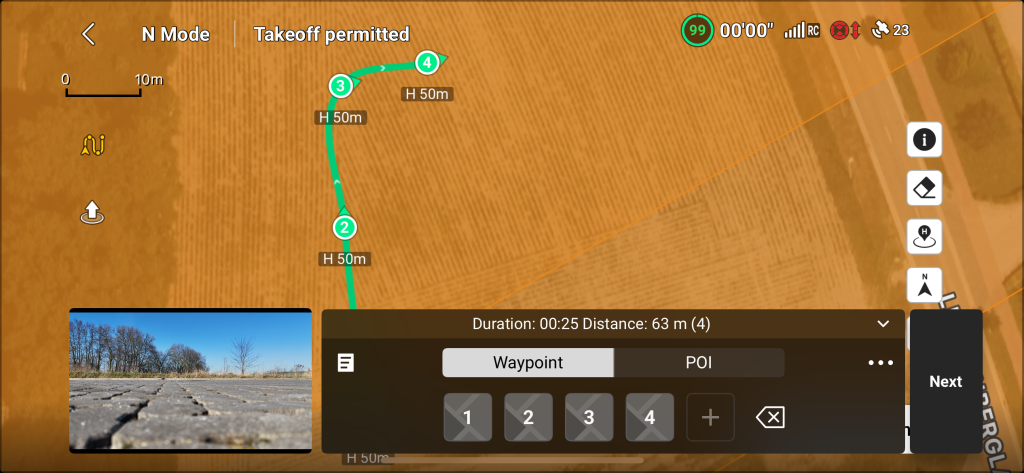
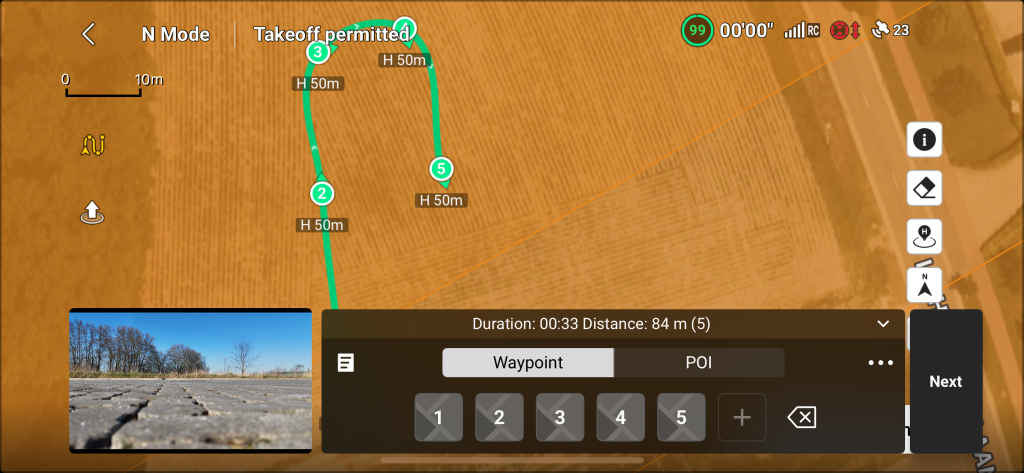


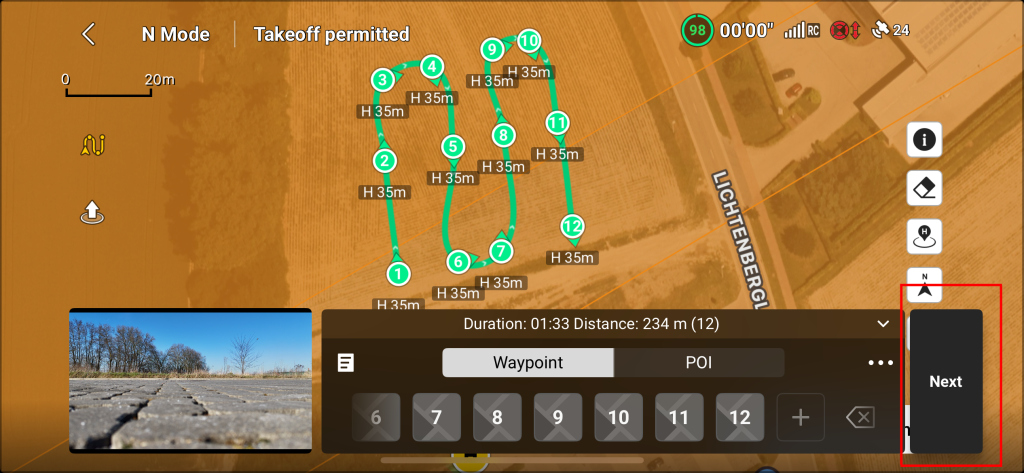
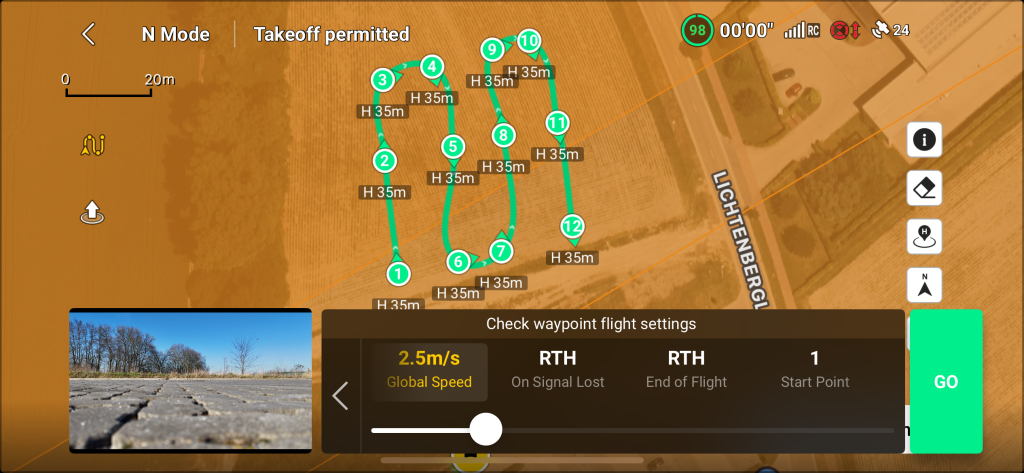
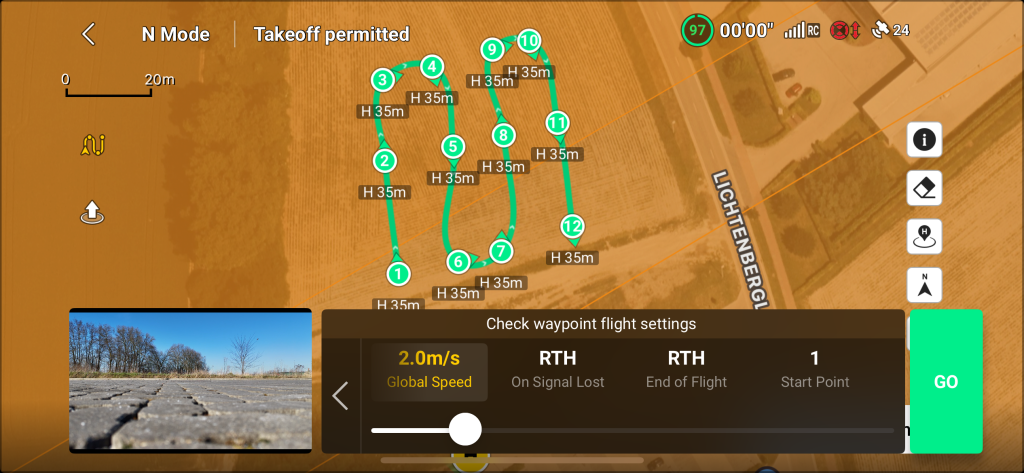
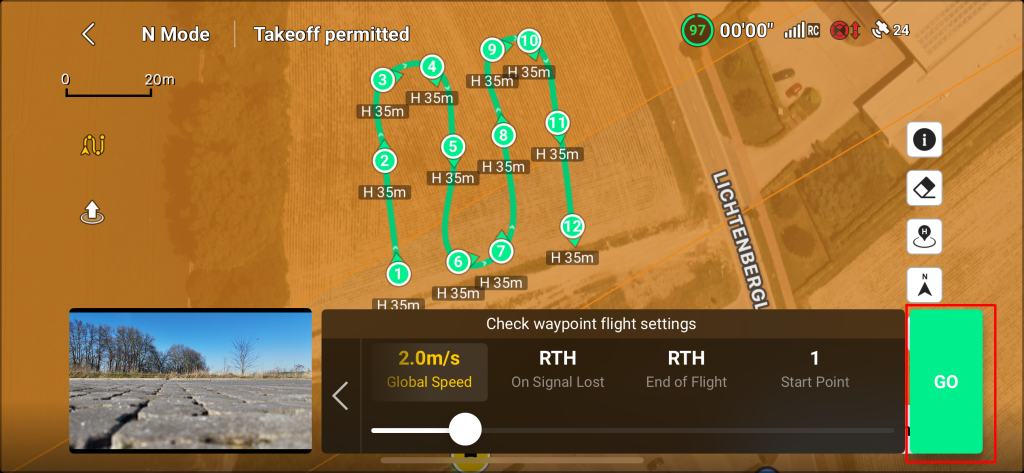

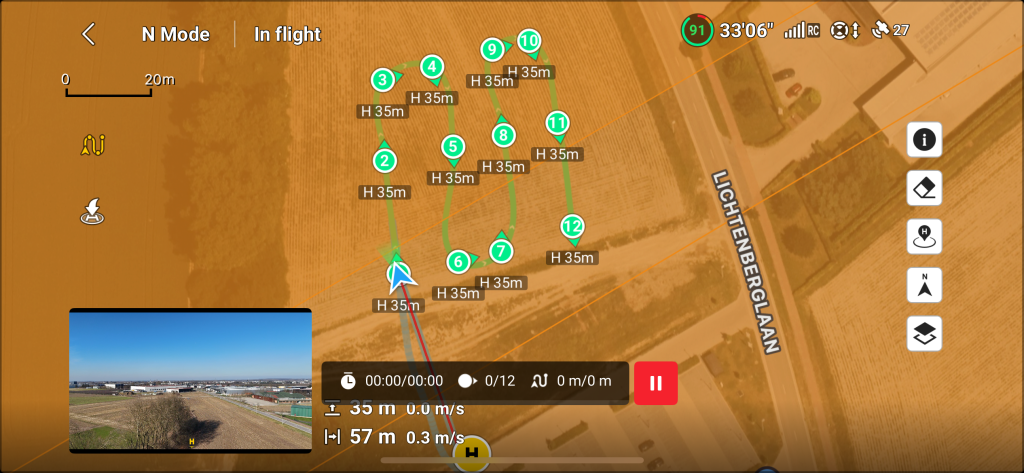
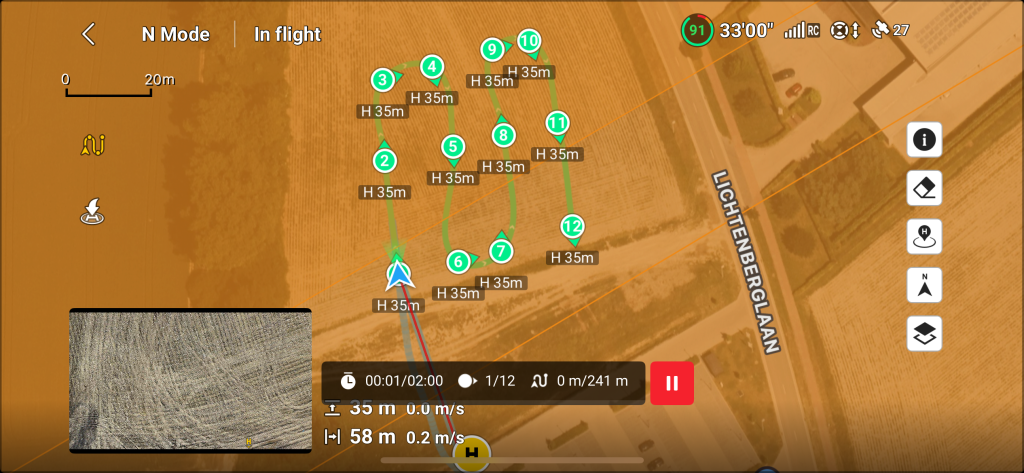


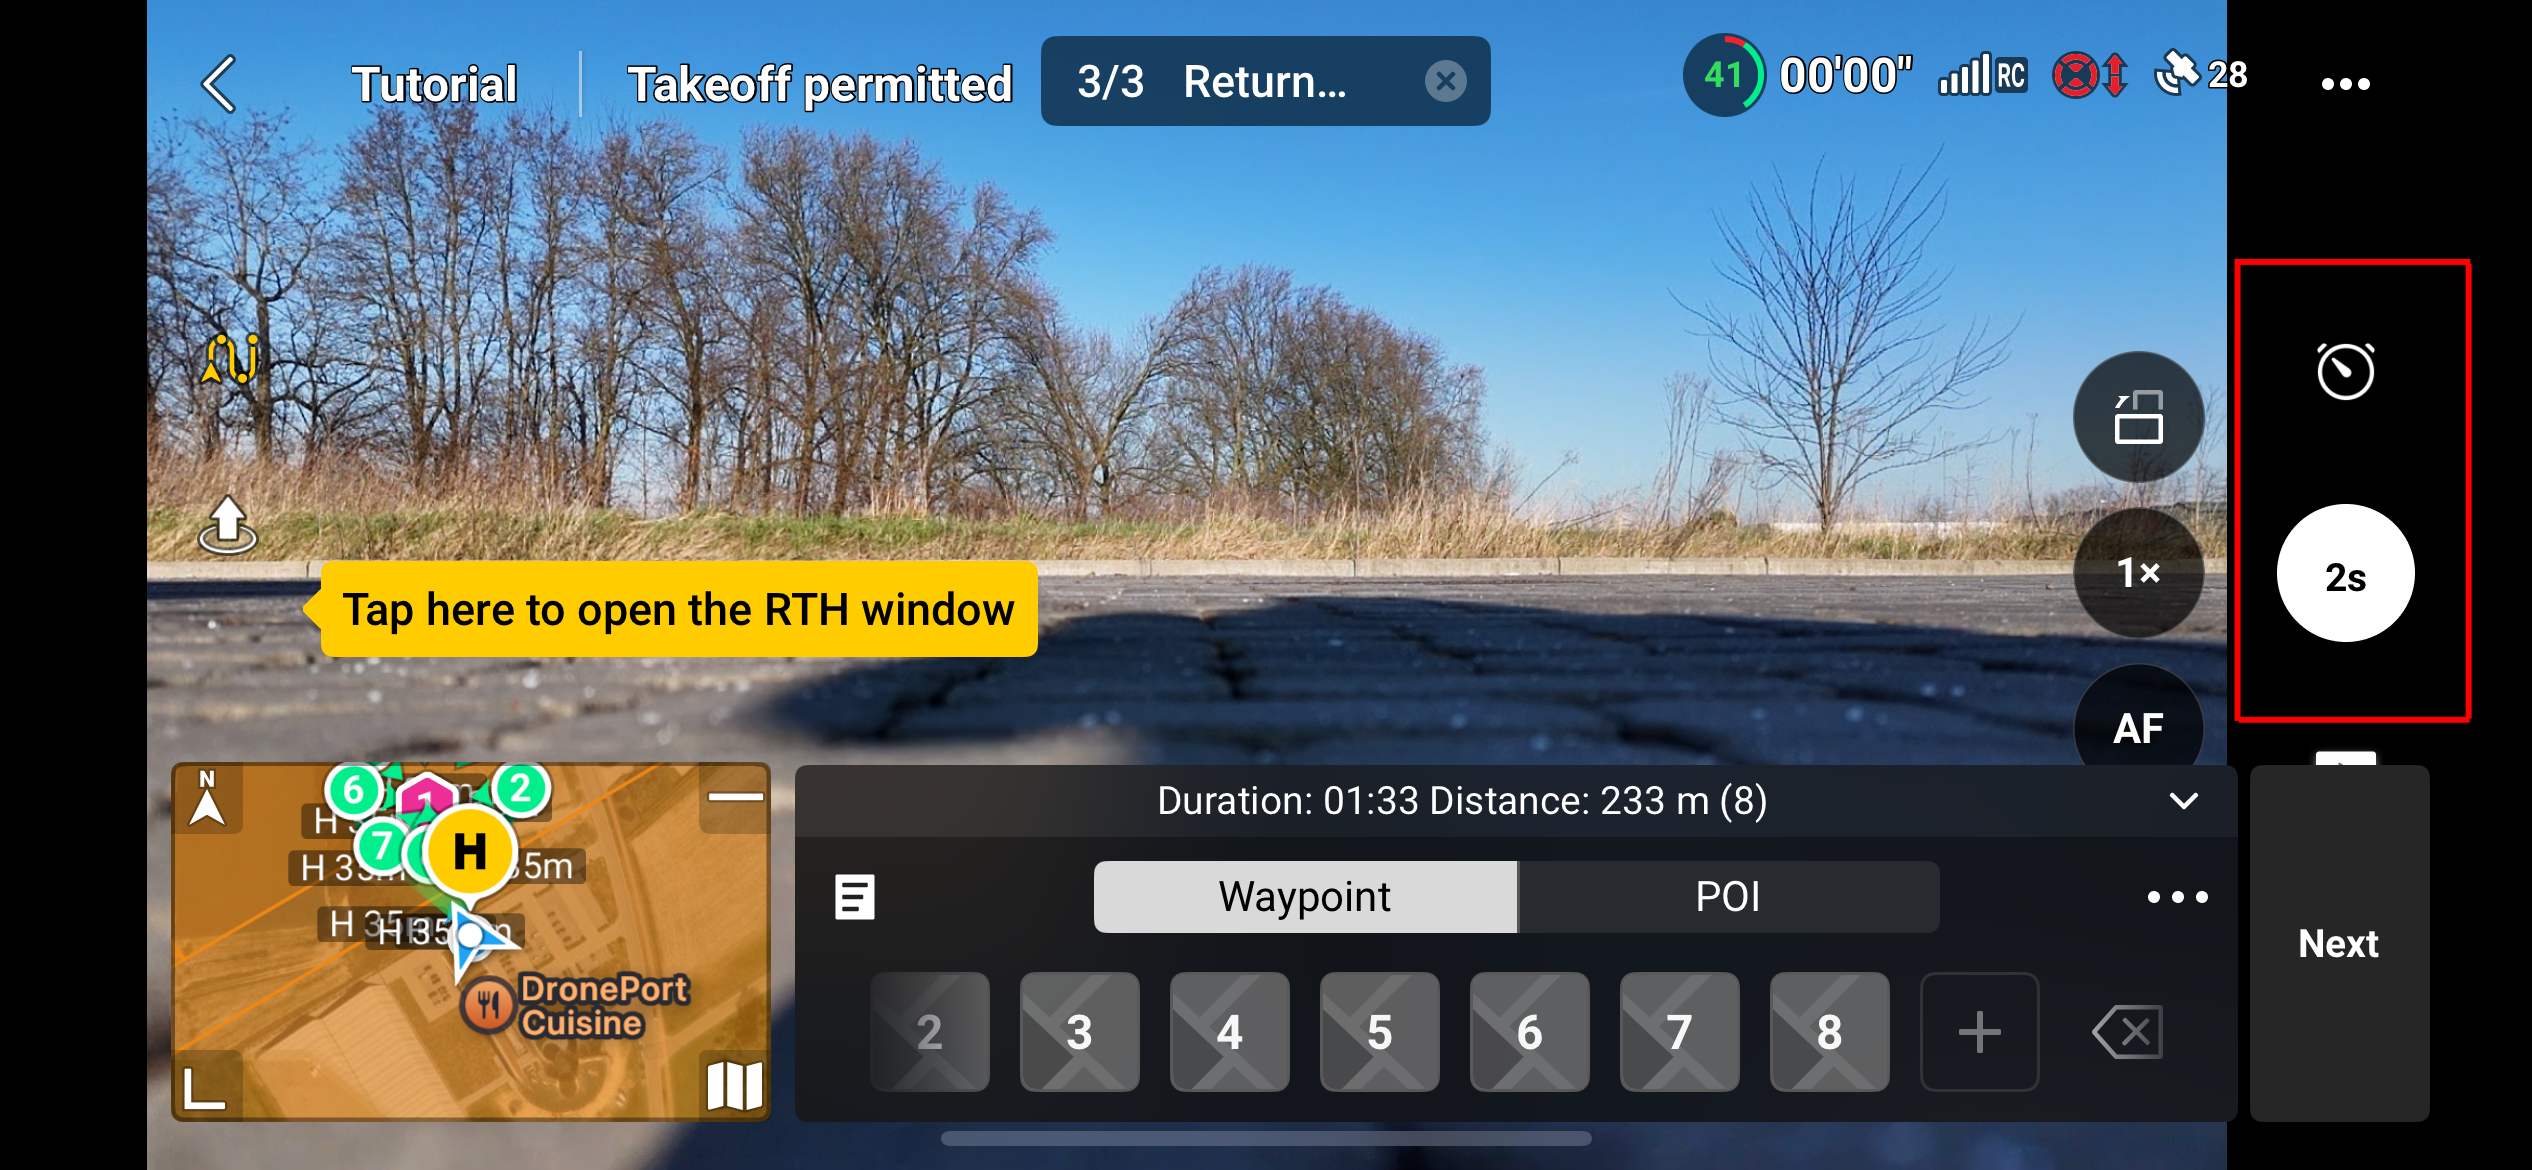
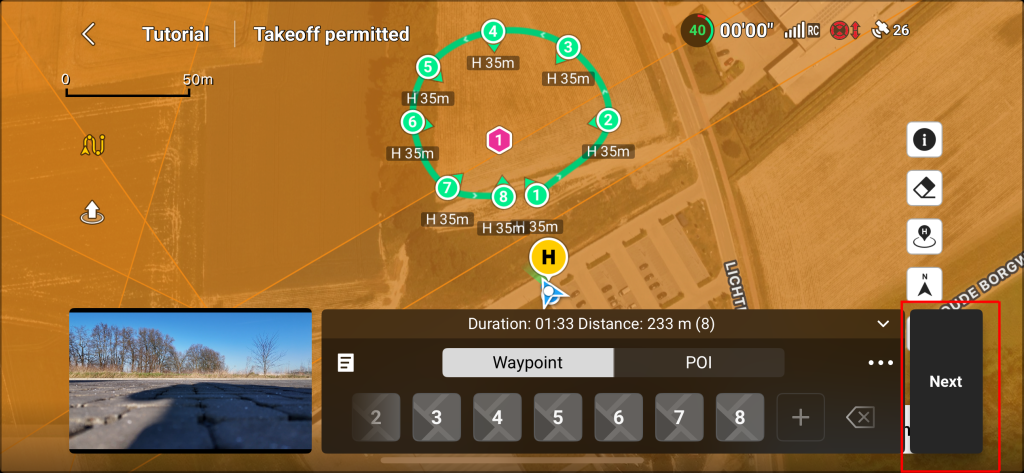
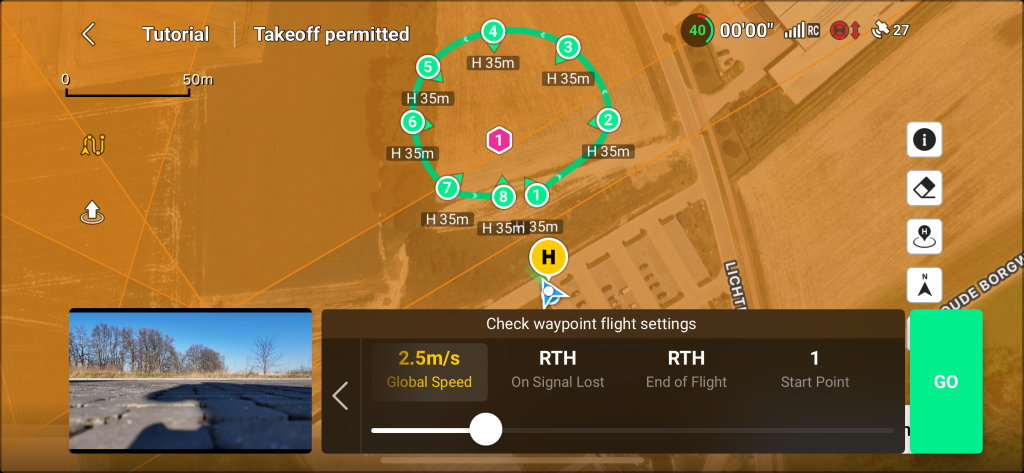
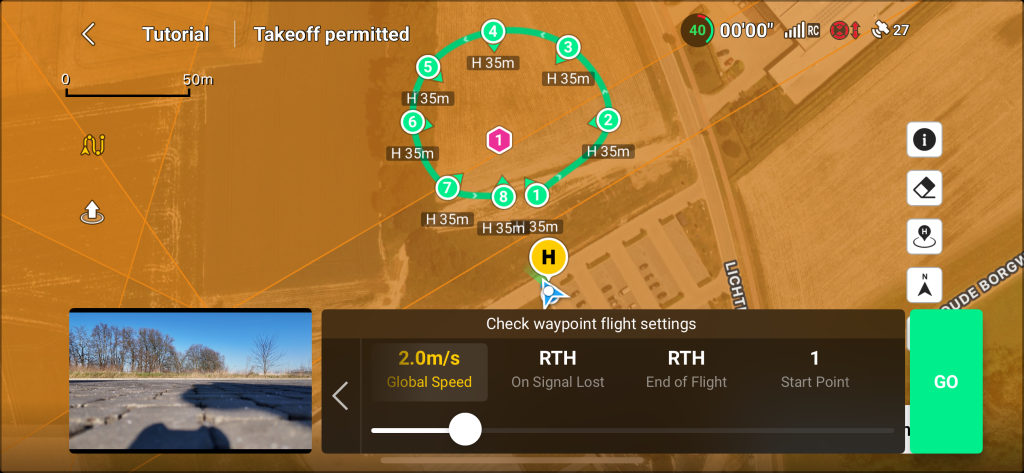
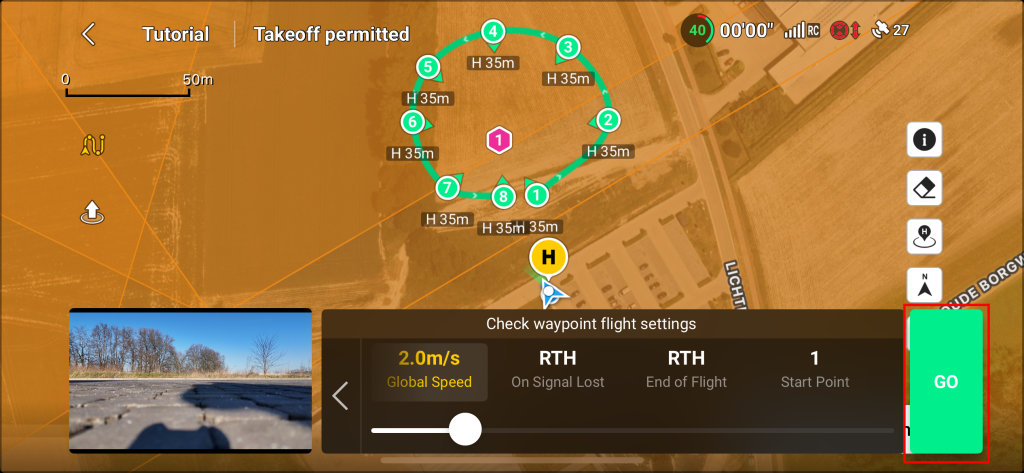
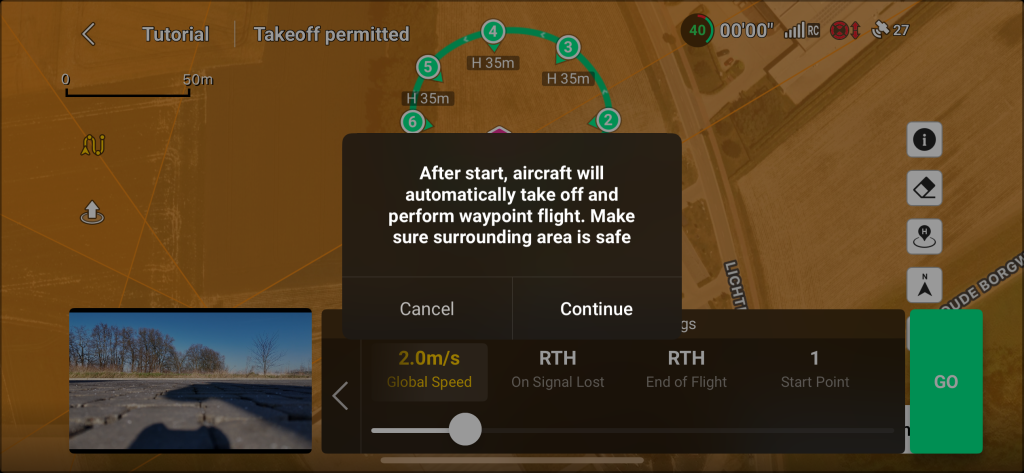
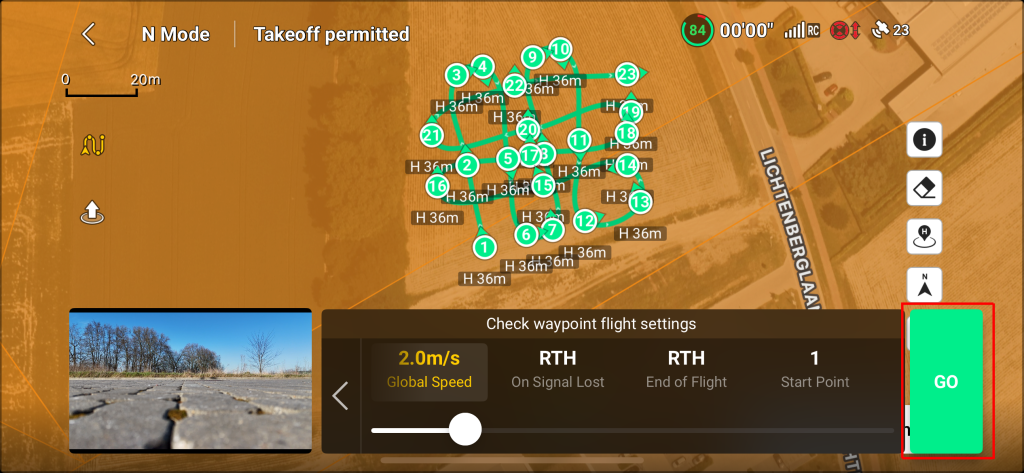
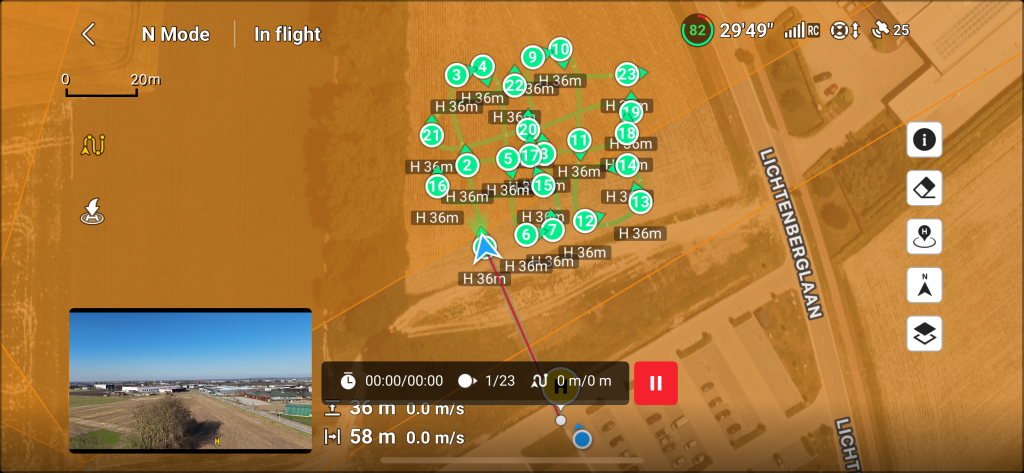
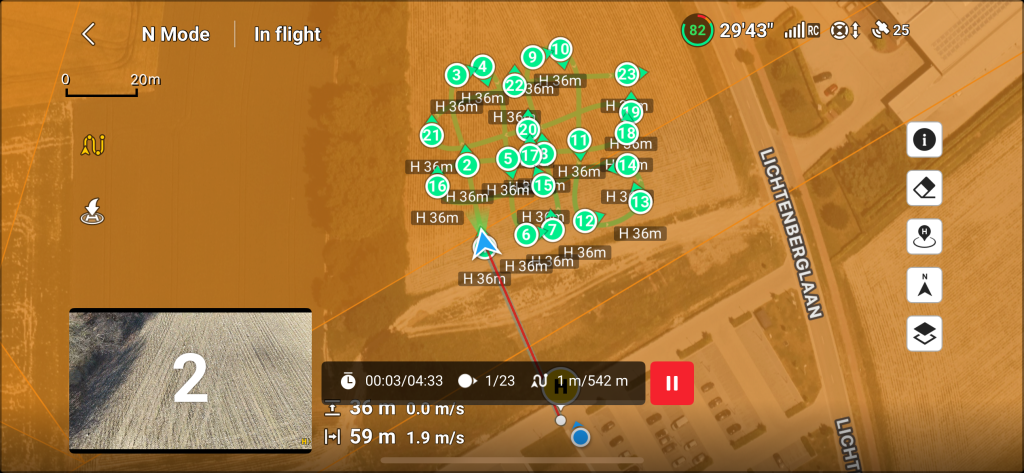
Siamo pronti a volare ora, per favore: