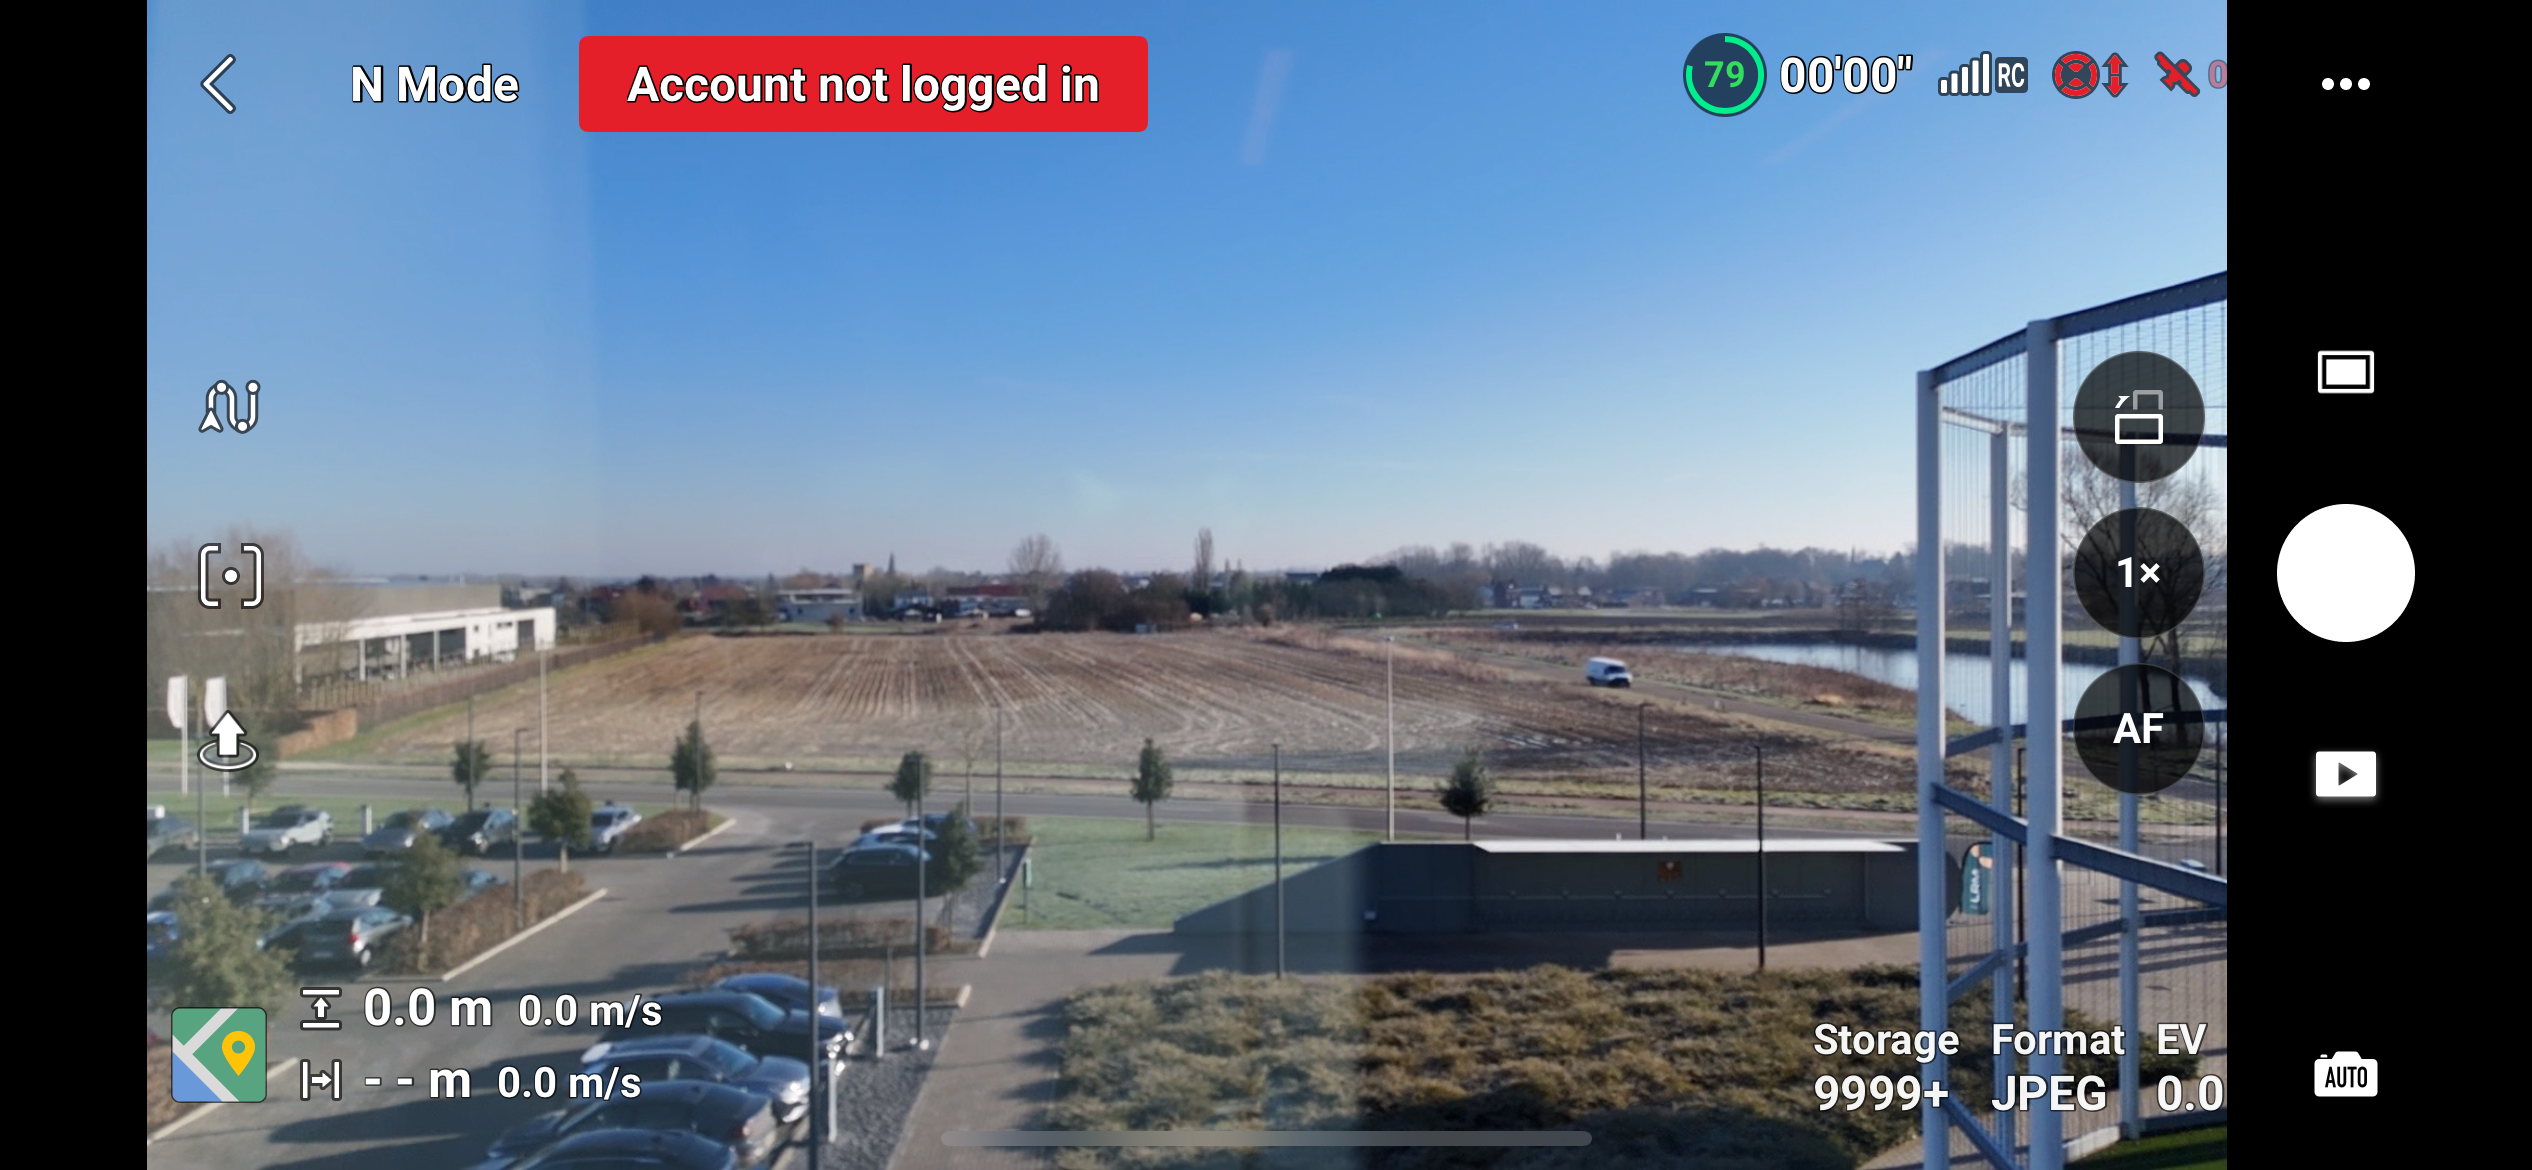
DJI Login
Make sure to be logged in with a dji account. Dji fly app will not allow to fly with auto mission unless being logged in.
GPS
Before planning a mission make sure to have sufficient gps signal.
Check the gps icon on the top right of the screen. It has to be colored white and not red.
Check the gps icon on the top right of the screen. It has to be colored white and not red.
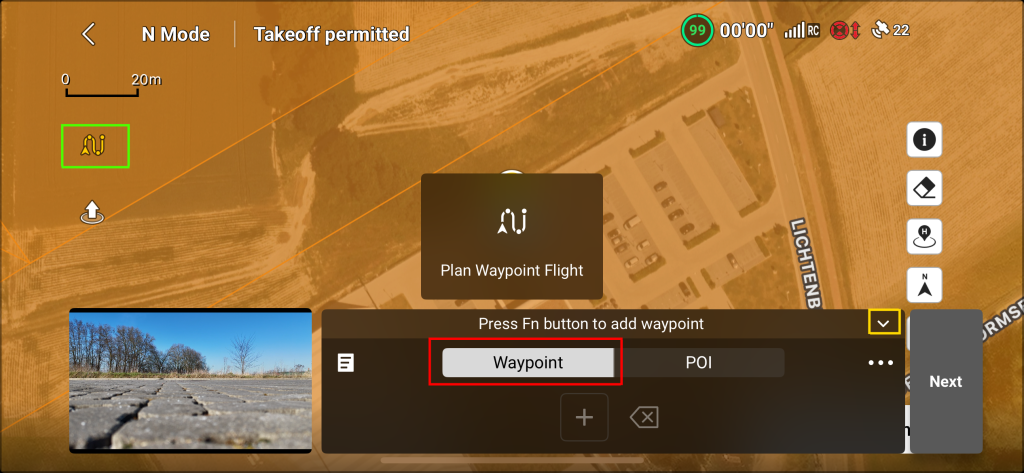
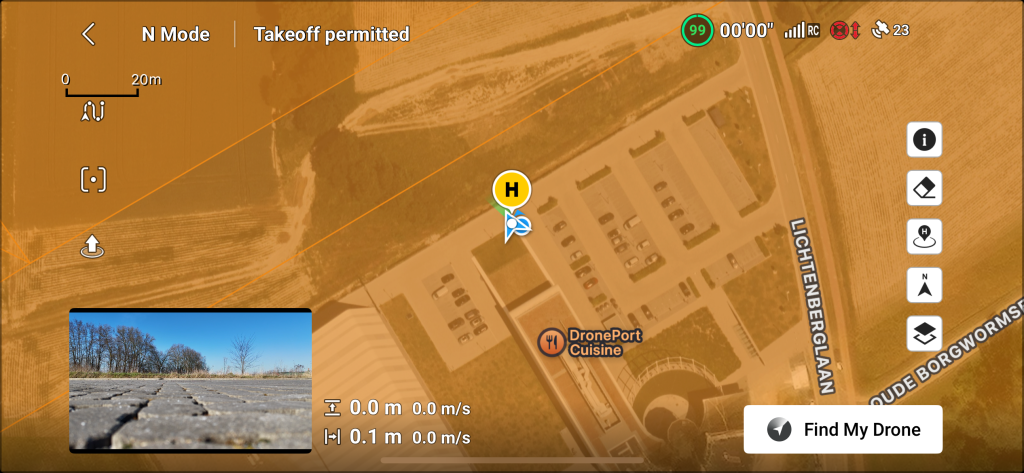
Home position
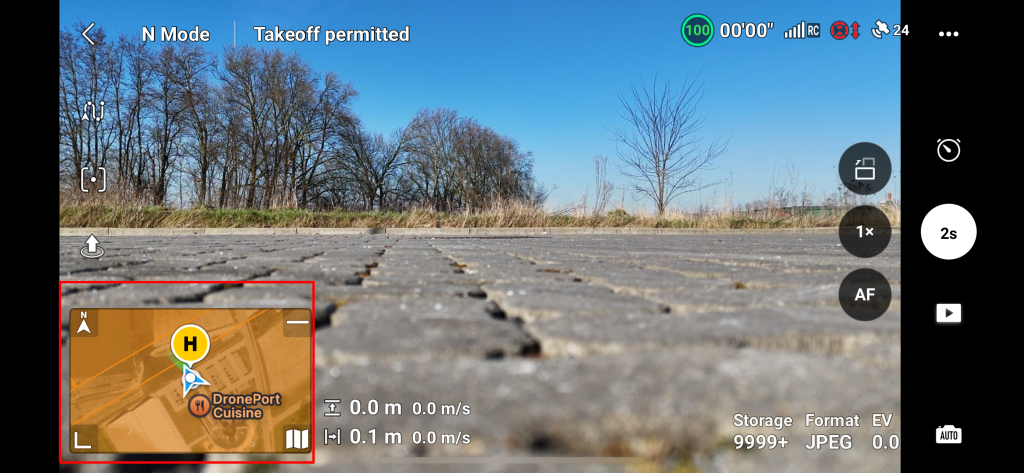
Before planning make sure the drone has recorded a Home position. The drone has recorded its home position if the icon in image below is vissible on the map

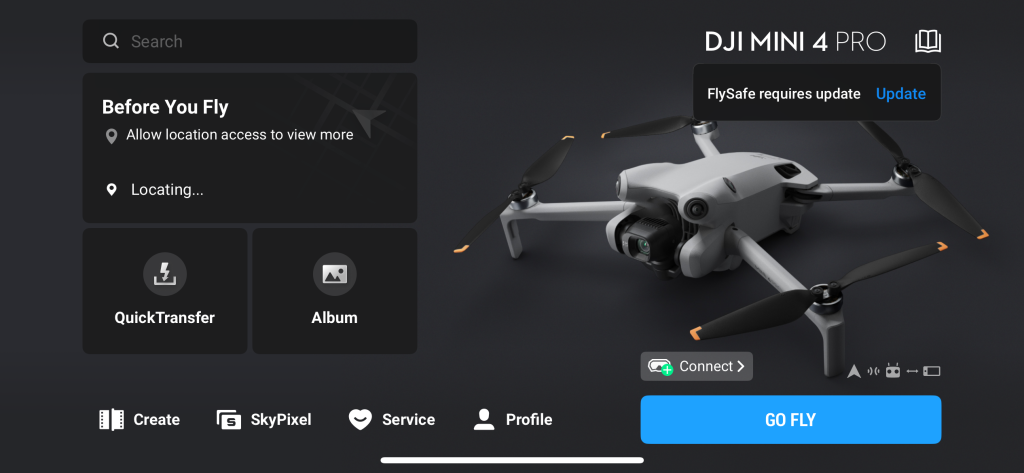
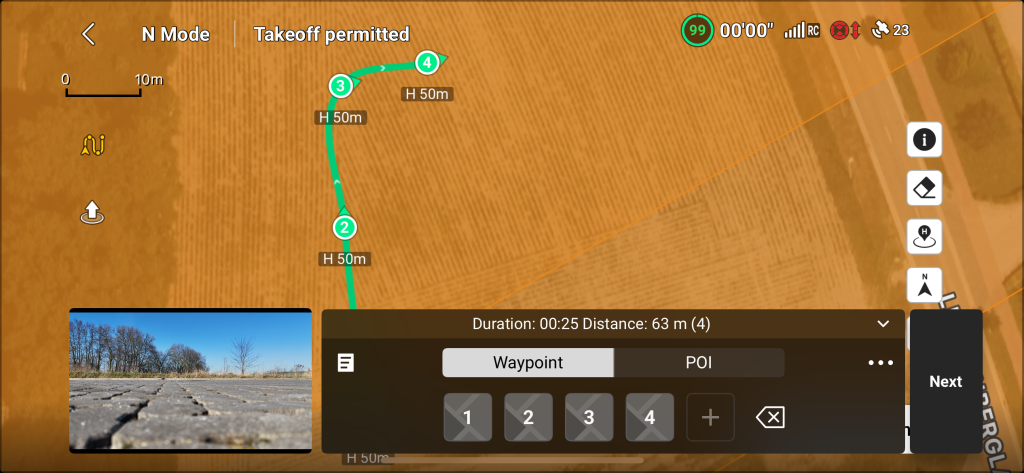
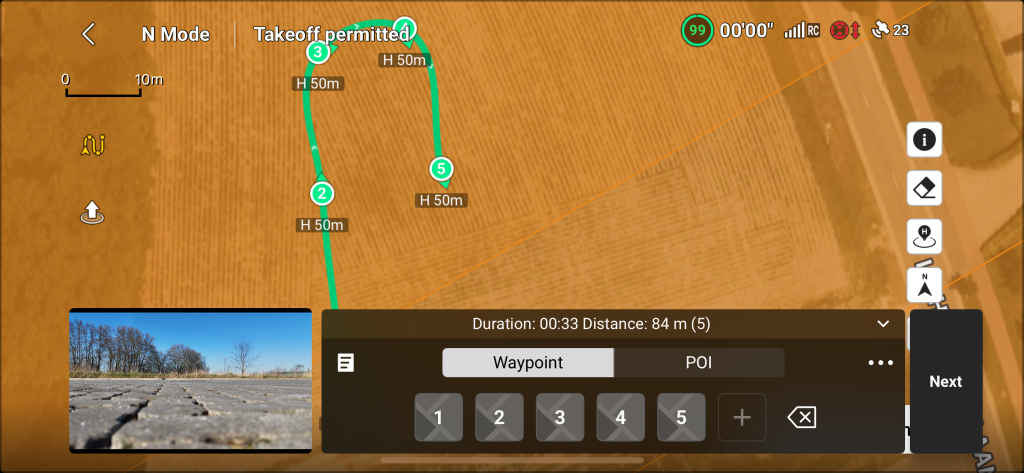

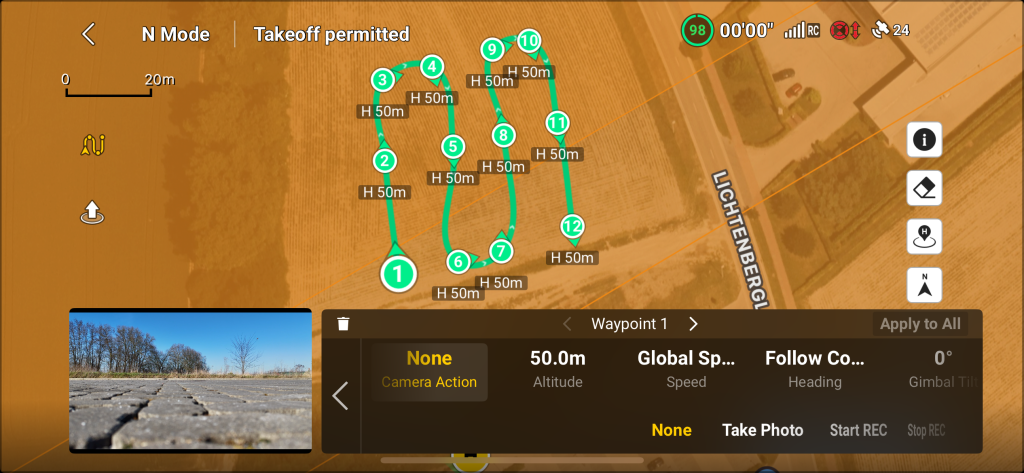


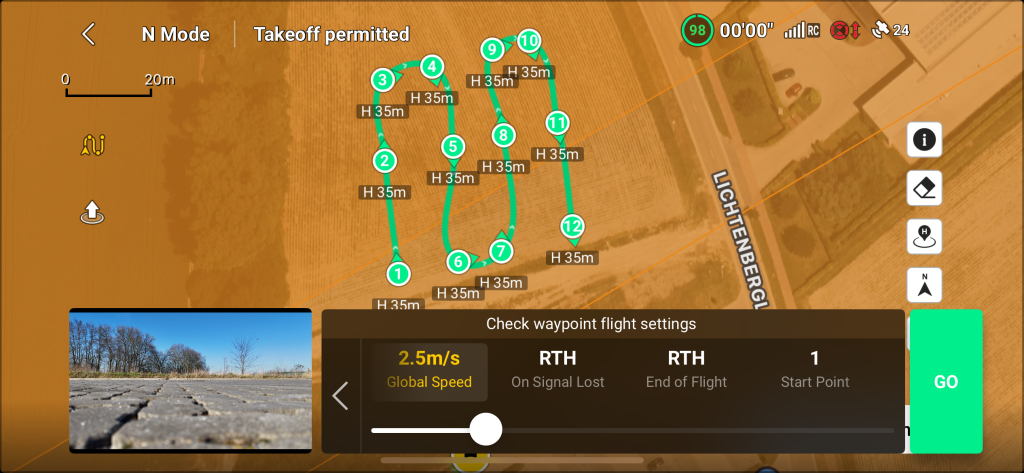
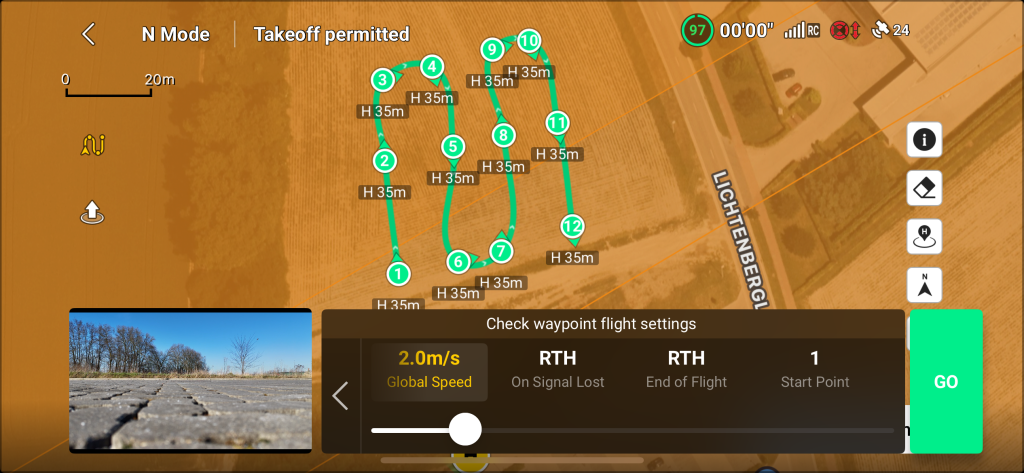
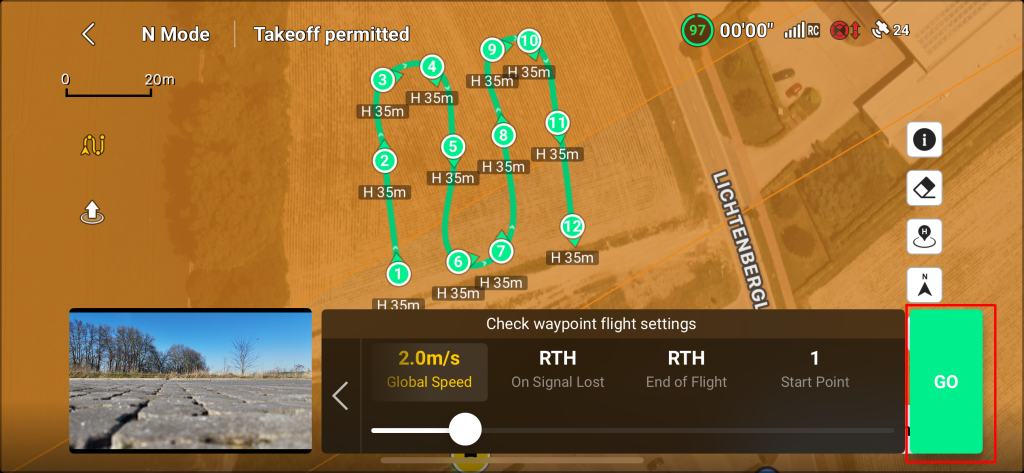

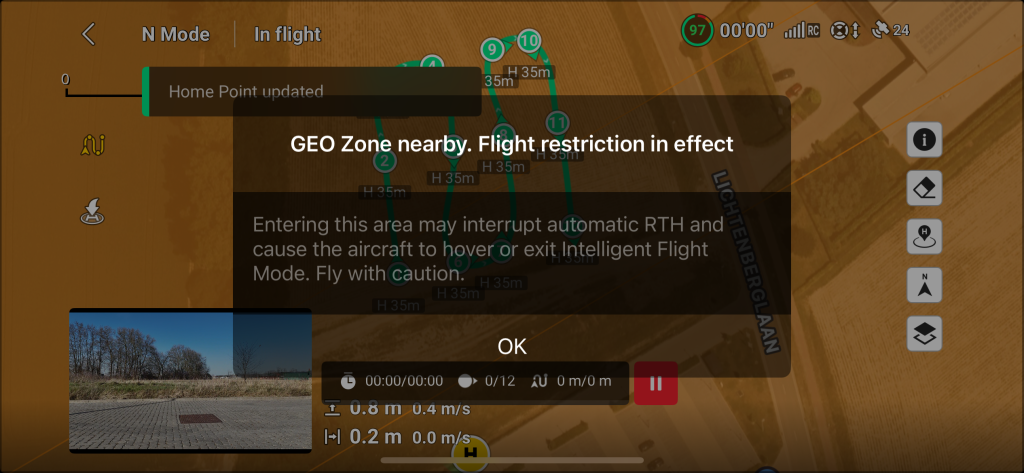

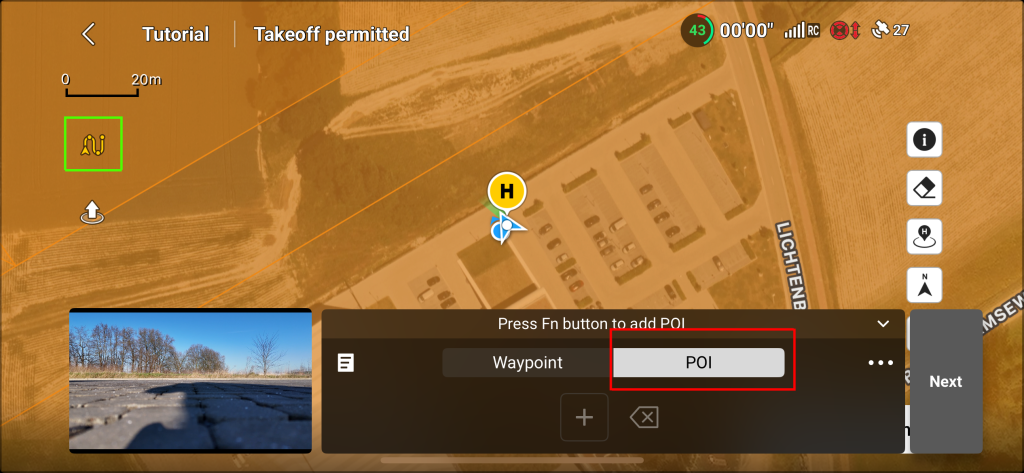
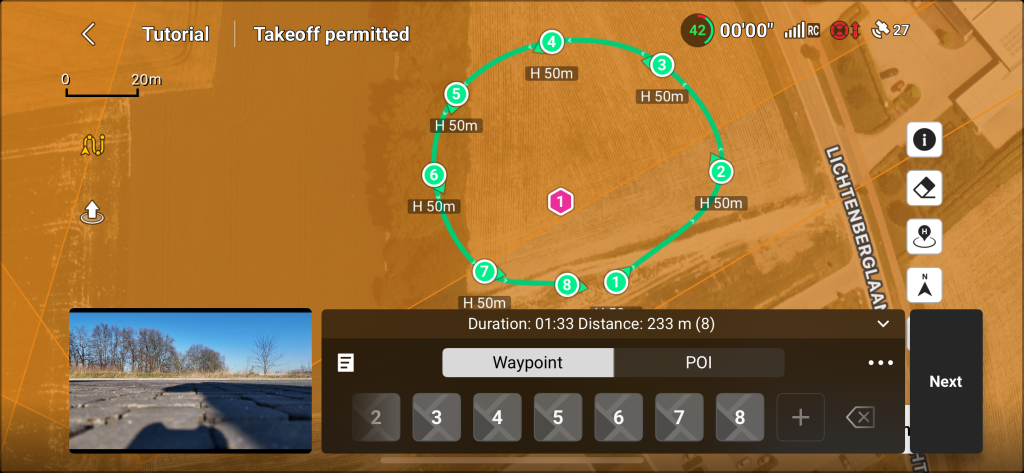


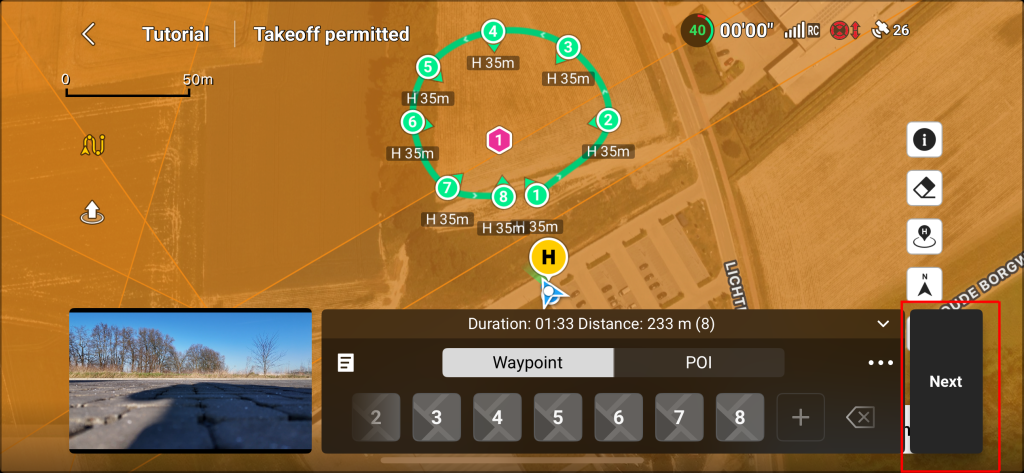
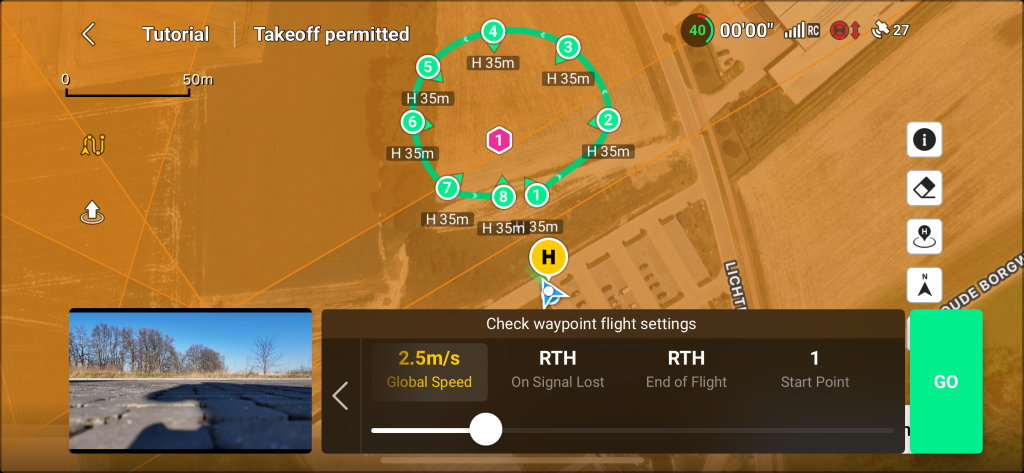
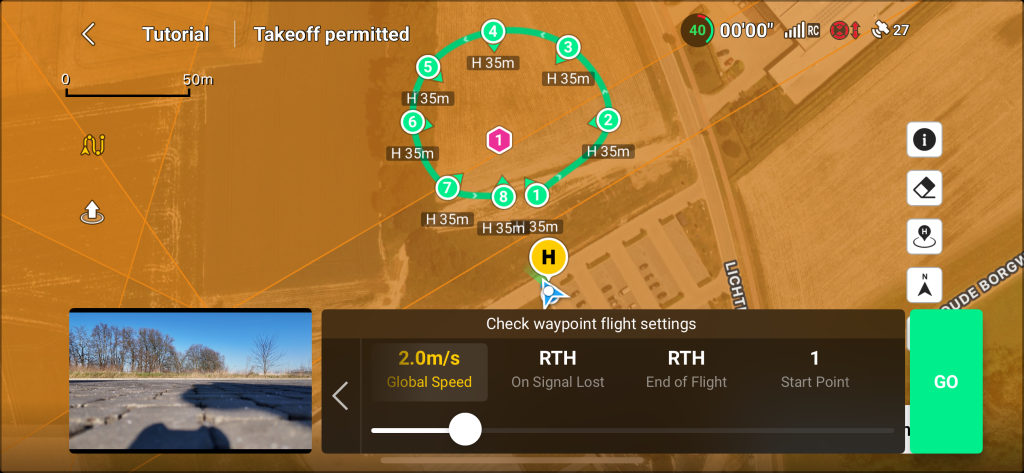
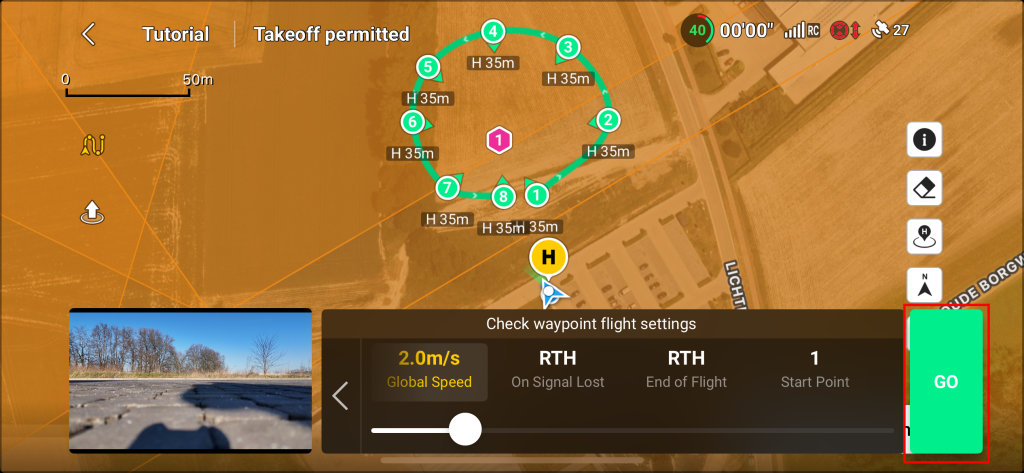
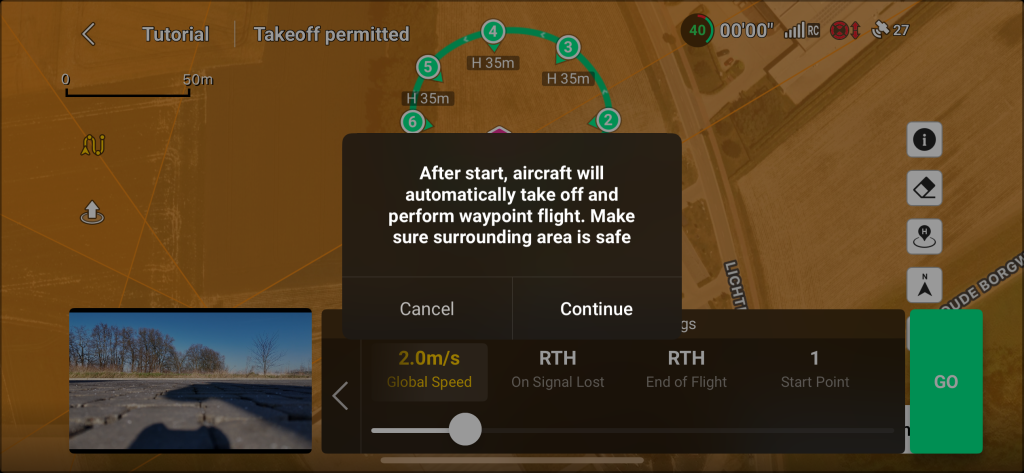
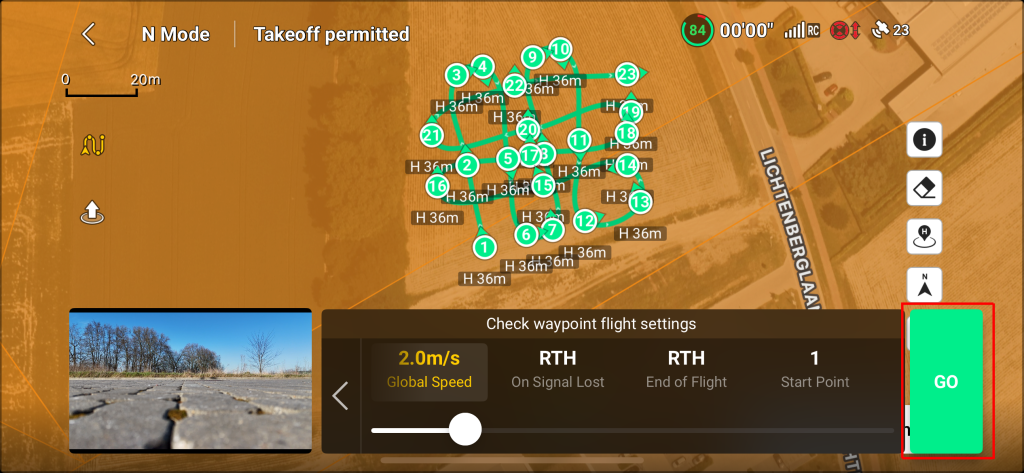
We are ready to go fly now, please:
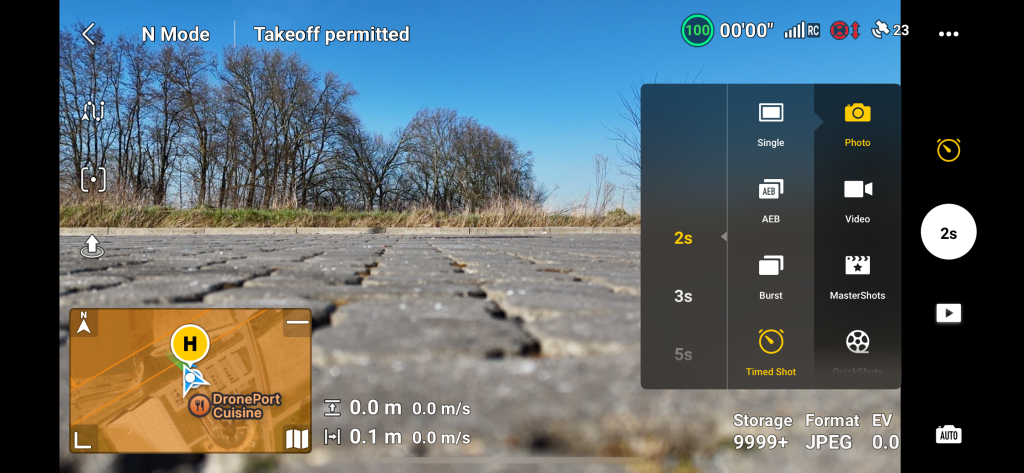
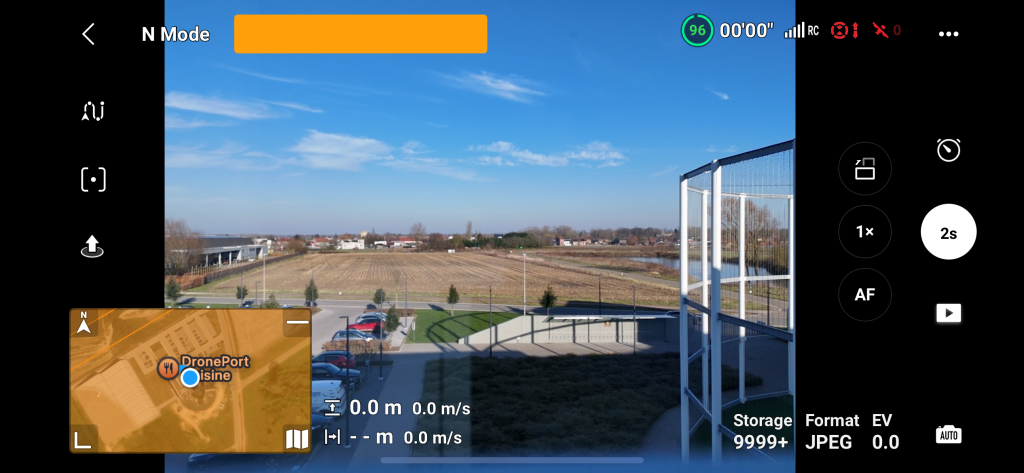
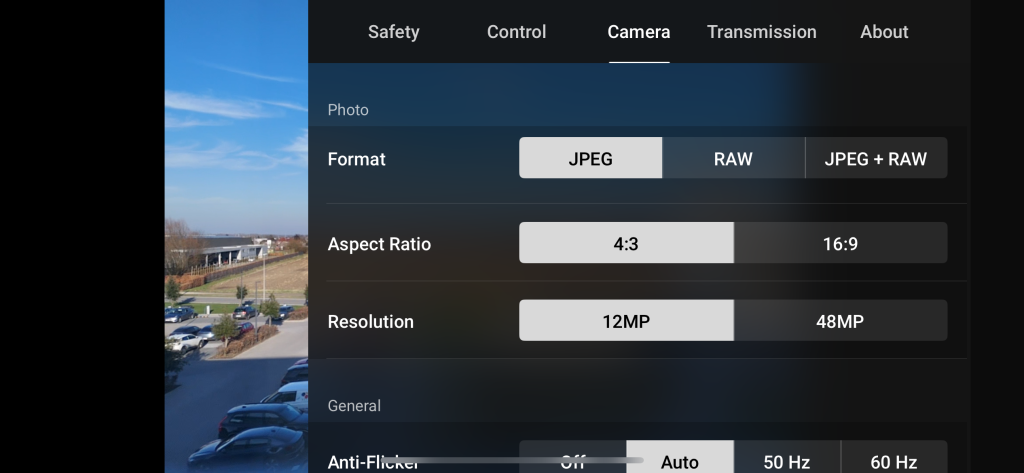
Check the camera image settings 4:3 12MP
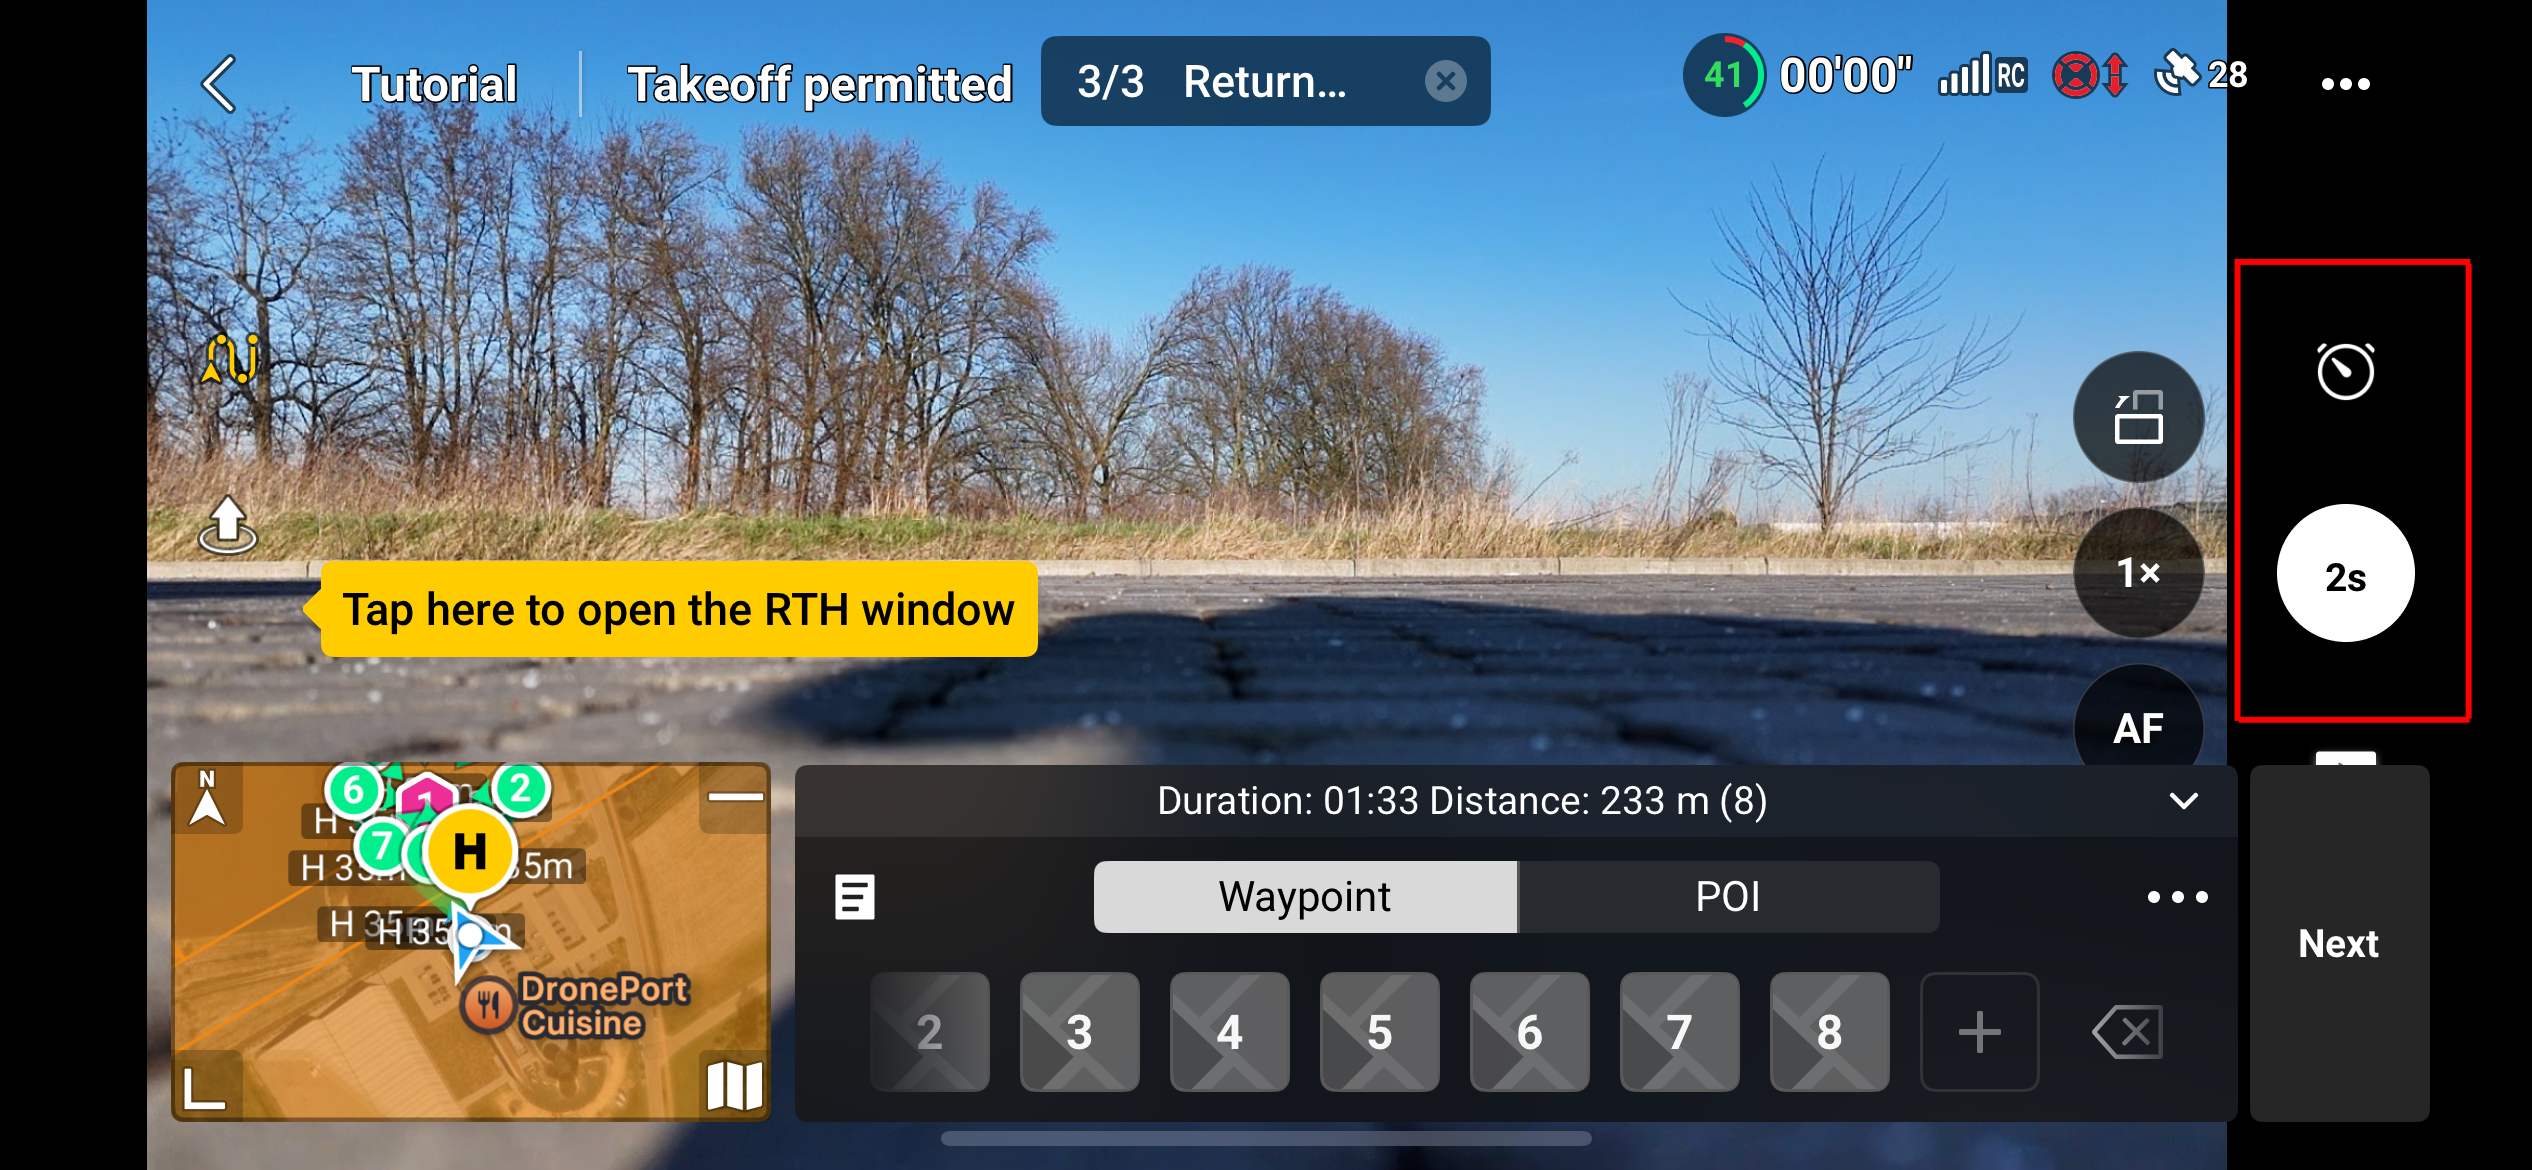
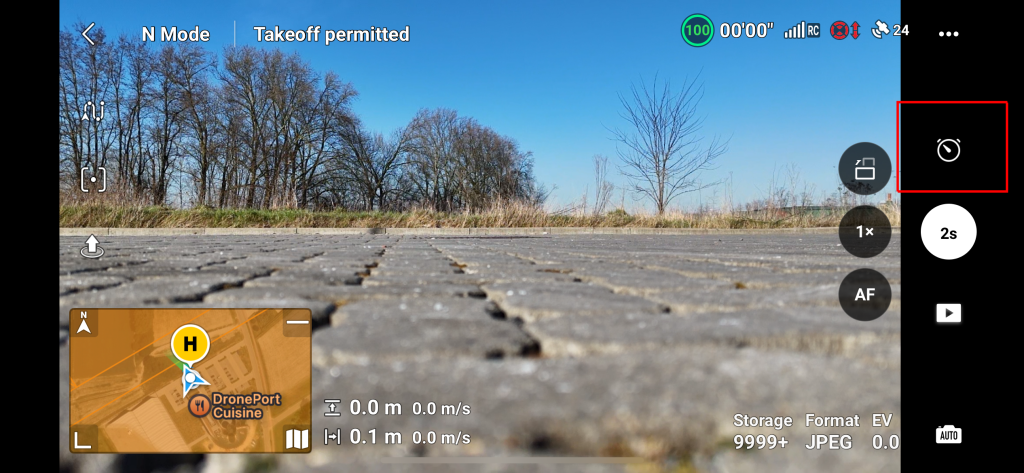
Check the camera shooting settings check if the button is showing 2s (red square in image below)